Introduction: A Sweet and Adorable Hello Kitty Cake Recipe
If you’re a fan of Hello Kitty, you’re in for a treat! This Hello Kitty cake recipe will guide you through every step to create a stunning, edible version of the beloved cartoon character. Whether you’re planning a birthday party or simply want to add a bit of whimsy to your next cake, this tutorial is perfect for both novice and experienced bakers. The recipe is straightforward, the ingredients are easy to find, and the result is a beautiful, delicious cake that everyone will love.
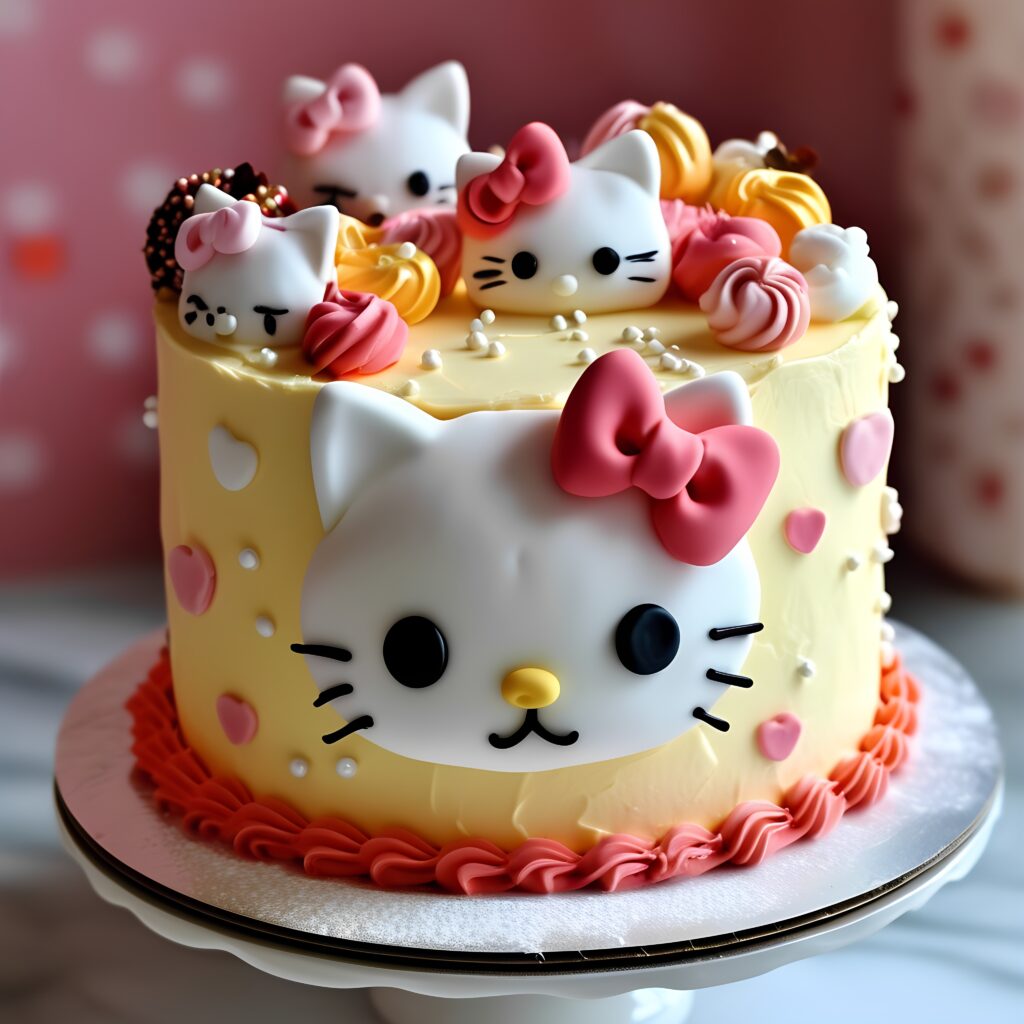
The Appeal of Hello Kitty Cakes
Hello Kitty has been a cultural icon for decades, and her sweet, simple design makes her the perfect subject for cake decoration. This Hello Kitty cake is not only adorable but also versatile, suitable for any occasion, from children’s birthday parties to casual get-togethers. Its charm lies in its bright colors, signature bow, and cute cat face that captures the essence of this beloved character.
Why You Should Make a Hello Kitty Cake
Making a Hello Kitty cake is a fun and rewarding baking project. Here’s why you should give it a try:
- Customizable: You can adjust the cake design and flavors to fit your theme, whether you’re making it for a girl’s birthday, a Hello Kitty fan, or a special celebration.
- Great for Themed Parties: Whether it’s a birthday or a Hello Kitty-themed event, this cake will be the centerpiece of the celebration.
- Simple Decoration: This cake is all about the decoration, and the steps are easy enough for beginners.
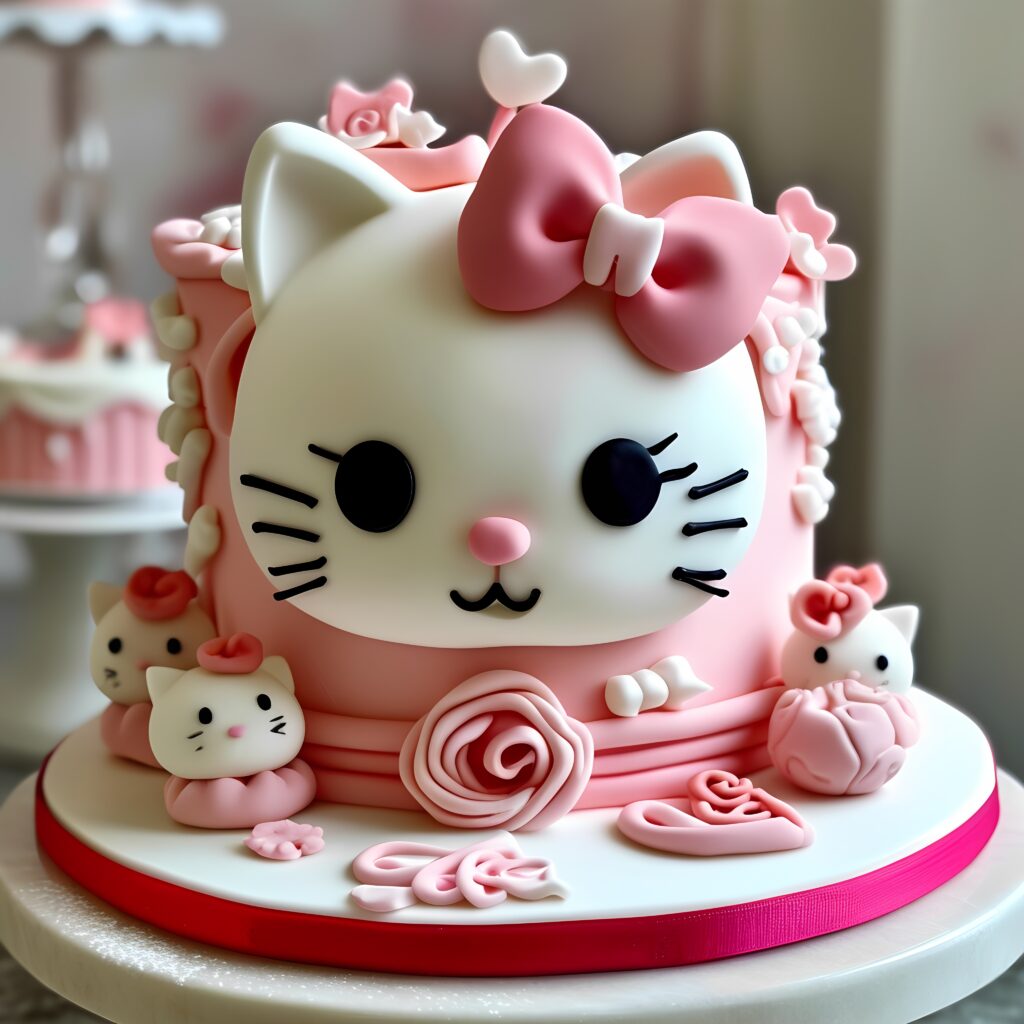
Ingredients for the Hello Kitty Cake
Before you start baking, gather the ingredients for both the cake and the frosting. Here’s what you’ll need to create this adorable cake:
For the Cake:
- 2 cups all-purpose flour
- 2 cups sugar
- 1 teaspoon baking powder
- 1/2 teaspoon baking soda
- 1/2 teaspoon salt
- 1 cup unsalted butter, softened
- 4 large eggs
- 1 cup milk
- 2 teaspoons vanilla extract
The Buttercream Frosting:
- 1 cup unsalted butter, softened
- 4 cups powdered sugar
- 2 teaspoons vanilla extract
- 3 tablespoons milk
- Pink food coloring
- Black food coloring (for details)
- Red food coloring (for bow)
For Decoration:
- Piping bags and various tips
- Edible pearls (optional for extra detail)
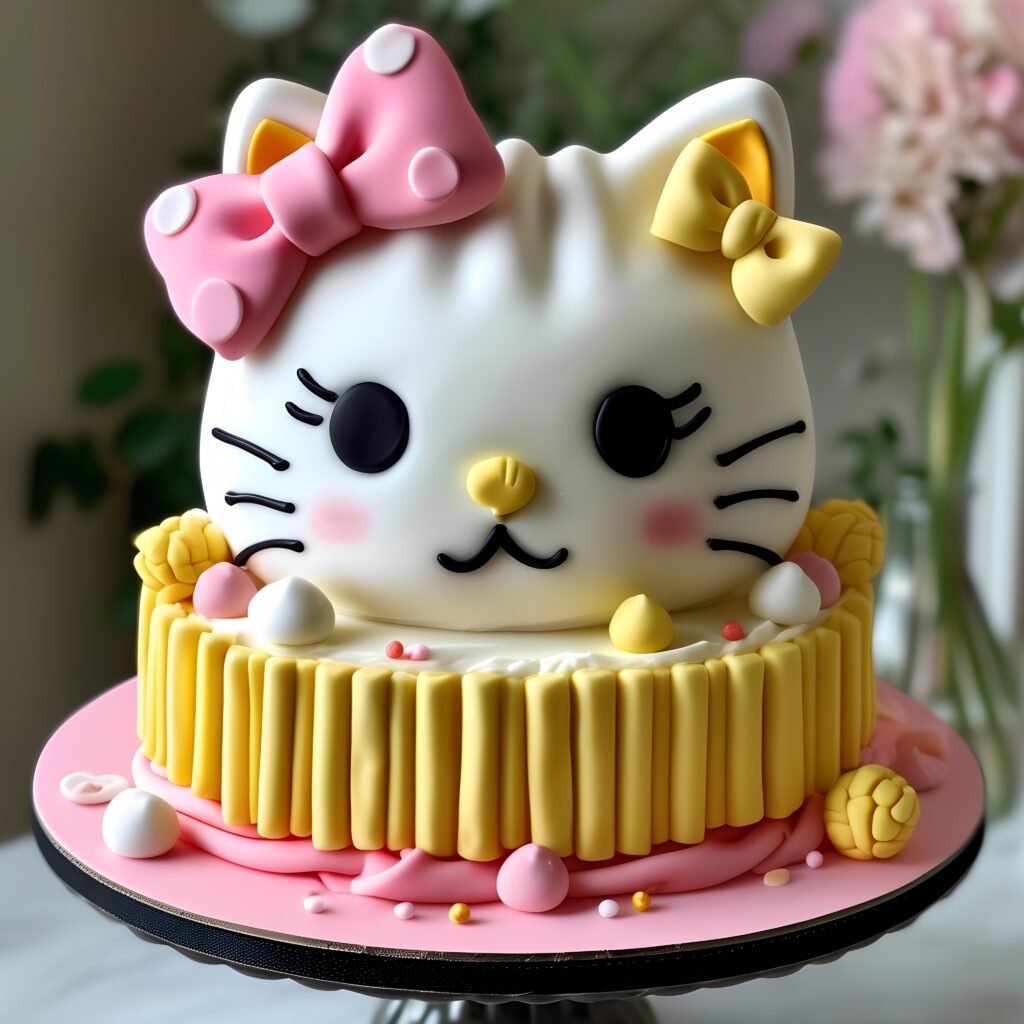
How to Make the Hello Kitty Cake
Making a Hello Kitty cake involves two main components: baking the cake and decorating it to look like Hello Kitty. Here’s a step-by-step guide to help you:
Step 1: Prepare the Cake
- Preheat the Oven
Preheat your oven to 350°F (175°C). Grease and flour two 9-inch round cake pans. - Mix Dry Ingredients
In a medium-sized bowl, whisk together the flour, sugar, baking powder, baking soda, and salt. - Cream Butter and Sugar
In a large bowl, cream the butter and sugar together until light and fluffy. This may take around 3-5 minutes using an electric mixer. - Add Eggs and Vanilla
Add the eggs one at a time, beating well after each addition. Stir in the vanilla extract. - Combine Wet and Dry Ingredients for Hello Kitty Cake Recipe
Gradually add the dry ingredients to the wet ingredients in batches, alternating with the milk. Begin and end with the dry ingredients. Mix until smooth. - Bake
Pour the batter evenly into the prepared cake pans. Bake for 30-35 minutes, or until a toothpick inserted into the center comes out clean. Let the cakes cool in the pans for 10 minutes before transferring them to wire racks to cool completely.
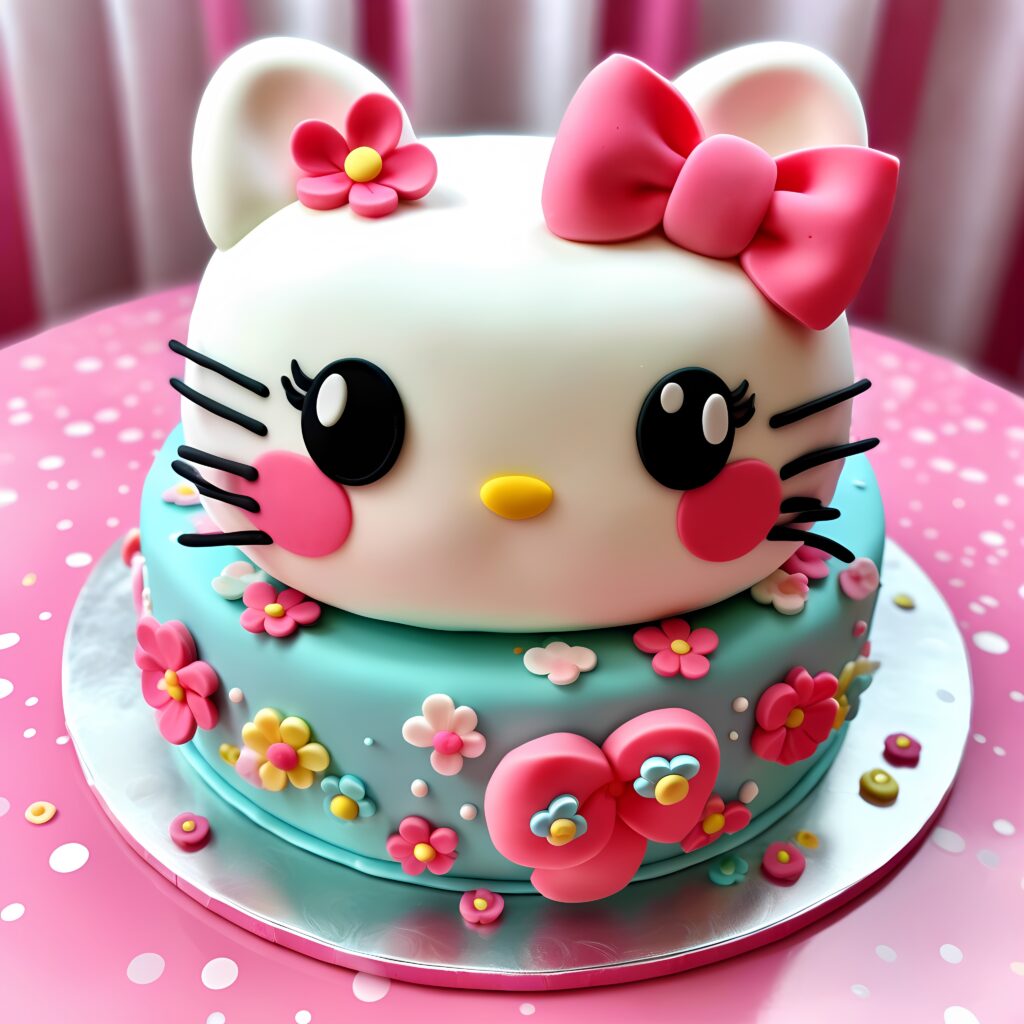
Step. 2: Make the Buttercream Frosting
- Beat Butter
In a large mixing bowl, beat the softened butter until creamy. - Add Powdered Sugar
Gradually add the powdered sugar, one cup at a time, beating on low speed to combine. Once all sugar is incorporated, increase speed to medium-high and beat until fluffy. - Add Vanilla and Milk
Add the vanilla extract and milk, and beat until smooth. Adjust the consistency by adding more milk if necessary. - Color the Frosting
Divide the frosting into three bowls: one for white frosting, one for pink (for the bow), and one for black (for the details). Add a few drops of food coloring to each bowl and mix until the desired shades are achieved.
Step 3: Assemble and Decorate the Cake
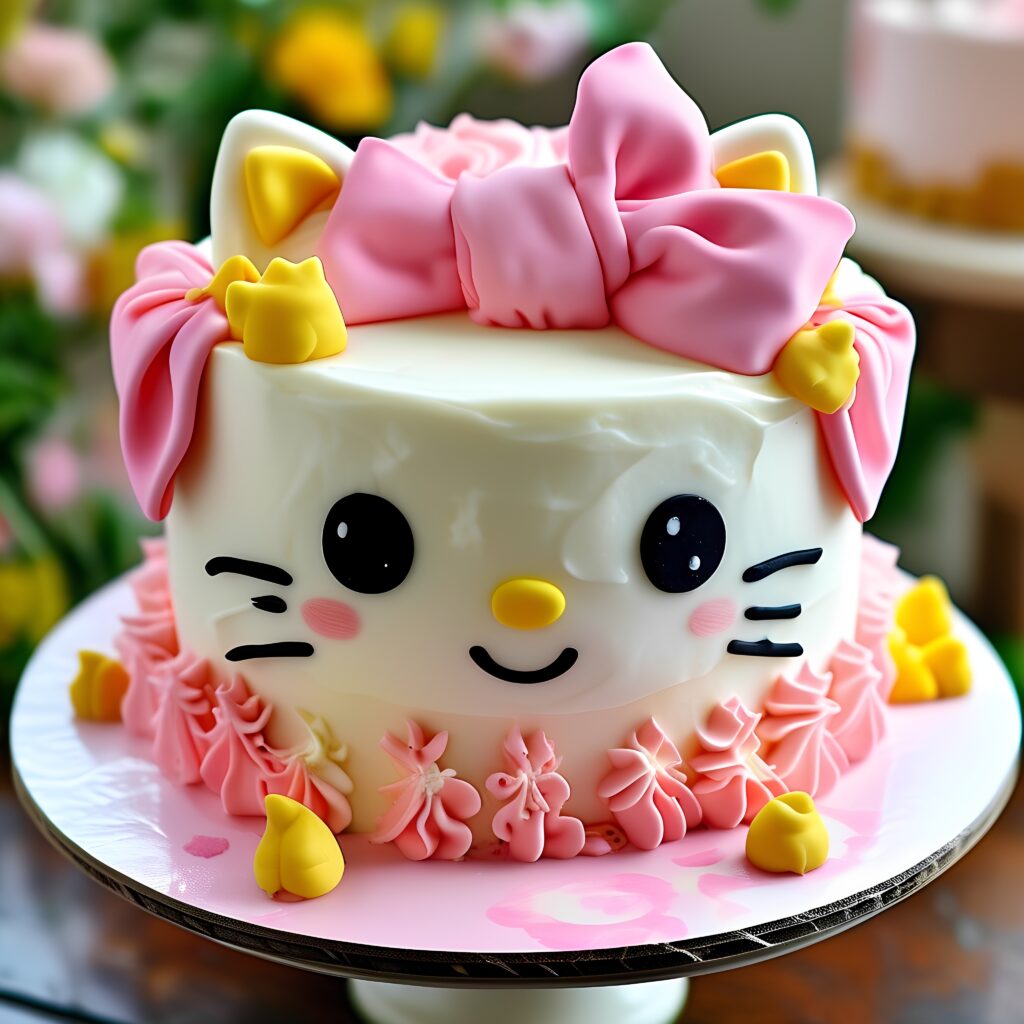
- Level the Cake Layers
Once the cakes are completely cooled, level the tops using a serrated knife or cake leveler to ensure they are flat and even. - Frost the Cake
Start by spreading a thin layer of white buttercream frosting on the top of one cake layer. Place the second cake layer on top and apply a crumb coat (a thin layer of frosting that seals in crumbs). Chill the cake in the fridge for 30 minutes. - Apply a Final Coat of Frosting
After the crumb coat has set, apply a thicker layer of white frosting to the entire cake. Smooth the frosting using an offset spatula. - Create the Hello Kitty Face
Use black frosting to pipe the eyes, nose, and whiskers. For the bow, use the pink frosting to pipe a cute bow on one side of the cake (Hello Kitty’s signature accessory). You can add edible pearls to enhance the look of the bow. - Final Touches
If desired, pipe additional small details using the remaining frosting colors, such as little flowers or hearts around the cake.
Hello Kitty Cake Recipe
Hello Kitty Cake Recipe
A Hello Kitty cake is a fun and adorable dessert perfect for birthdays, parties, or any celebration. With a soft and fluffy cake base, a creamy frosting, and Hello Kitty’s signature face on top, this cake will be a hit with both kids and adults.
- Total Time: 2 hours
Ingredients
For the Cake:
- 2 1/2 cups all-purpose flour
- 2 1/2 teaspoons baking powder
- 1/2 teaspoon salt
- 1 cup unsalted butter, softened
- 1 1/2 cups granulated sugar
- 4 large eggs
- 1 teaspoon vanilla extract
- 1 cup whole milk
For the Buttercream Frosting:
- 1 cup unsalted butter, softened
- 4 cups powdered sugar
- 2 teaspoons vanilla extract
- 2–3 tablespoons heavy cream
- Pink, yellow, and black food coloring (for decorating)
For Decoration:
- Black fondant (for Hello Kitty’s eyes, whiskers, and mouth)
- Yellow fondant (for the nose)
- Pink fondant or pink buttercream (for the bow)
Instructions
1. Make the Cake:
- Preheat the Oven: Preheat your oven to 350°F (175°C). Grease and flour two 9-inch round cake pans.
- Prepare Dry Ingredients: In a medium bowl, whisk together the flour, baking powder, and salt.
- Mix Wet Ingredients: In a large mixing bowl, beat the softened butter and sugar until light and fluffy, about 3-5 minutes. Add the eggs, one at a time, mixing well after each addition. Stir in the vanilla extract.
- Combine Wet and Dry Ingredients: Gradually add the dry ingredients to the butter mixture, alternating with the milk. Start and end with the dry ingredients, mixing until just combined.
- Bake the Cakes: Divide the batter evenly between the two prepared pans. Bake for 25-30 minutes, or until a toothpick inserted into the center comes out clean. Allow the cakes to cool in the pans for 10 minutes, then turn them out onto a wire rack to cool completely.
2. Prepare the Buttercream Frosting:
- Mix the Frosting: In a large bowl, beat the softened butter until creamy. Gradually add the powdered sugar, a cup at a time, mixing well after each addition. Add the vanilla extract and 2 tablespoons of heavy cream. Beat for 2-3 more minutes until the frosting is smooth and fluffy. If it’s too thick, add another tablespoon of cream.
- Color the Frosting: Divide the frosting into separate bowls. Tint some of the frosting pink for the bow, and leave some white for the face. If you need black for the whiskers and eyes, you can also tint some frosting black or use black fondant.
3. Assemble and Decorate the Cake:
- Frost the Cake Layers: Once the cakes have cooled, place one cake layer on a cake board or serving plate. Spread a layer of buttercream frosting on top. Place the second cake layer on top and apply a crumb coat (a thin layer of frosting to seal in any crumbs). Chill the cake for about 30 minutes to set the crumb coat.
- Apply Final Layer of Frosting: After the crumb coat has set, spread a smooth layer of white buttercream frosting over the entire cake.
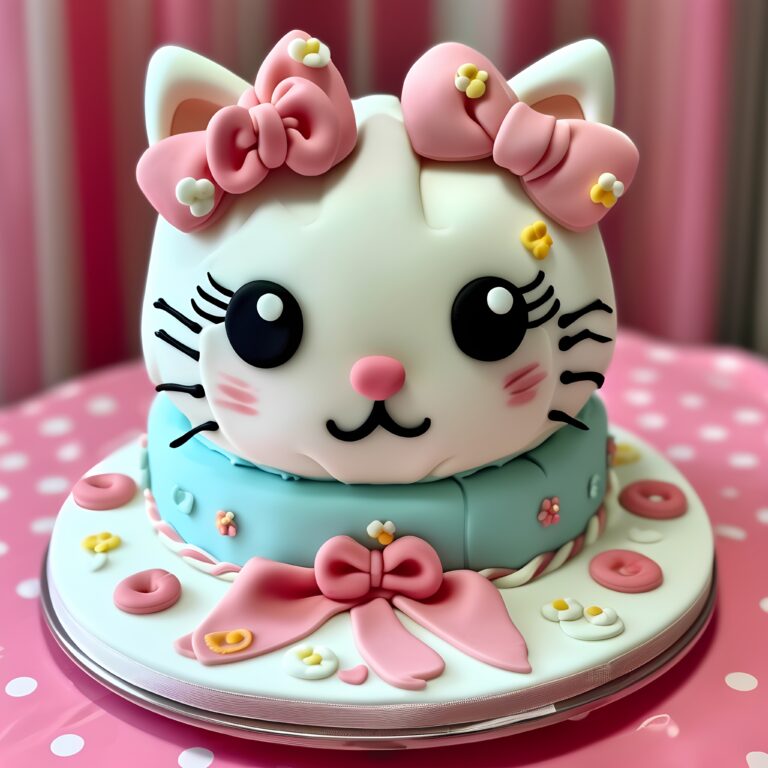
- Create the Hello Kitty Face: Roll out the black fondant to create two oval shapes for the eyes and a small rounded shape for the mouth. Shape the yellow fondant into a small triangle for Hello Kitty’s nose. Place the eyes, nose, and mouth on the cake to form Hello Kitty’s face.
- Make the Bow: Roll out pink fondant or use pink buttercream to create a bow on the left side of the cake. You can make a simple bow by rolling the fondant into two loops and connecting them with a small strip of fondant in the middle.
- Add Whiskers: Using black fondant or black buttercream, create three whiskers on each side of the face.
4. Serve and Enjoy:
- Slice and enjoy your adorable Hello Kitty cake! Perfect for any themed party or as a fun treat for Hello Kitty fans.
Notes
- Fondant Tips: If you’re new to working with fondant, use a small amount of cornstarch to prevent it from sticking to your surface while rolling.
- Make It Ahead: You can bake the cake layers and make the frosting the day before. Just store the components in airtight containers and assemble the cake when you’re ready.
- Decorate Your Way: Feel free to get creative! You can add more Hello Kitty details, such as her signature bow or even some flowers or stars around her face.
- Prep Time: 75
- Cook Time: 45
- Category: Breakfast
- Method: oven
- Cuisine: pastry
Tips for Making the Perfect Hello Kitty Cake
Creating a Hello Kitty cake doesn’t have to be stressful! Here are a few tips to make the process easier and more fun:
- Use a Template: For a more precise Hello Kitty face, consider using a printable template to guide your piping.
- Pre-make the Decorations: If you’re short on time, consider preparing the bow and other decorations ahead of time so you can simply attach them when assembling the cake.
- Use the Right Tools: Piping bags and fine-tipped nozzles are key to getting the delicate details of Hello Kitty’s face just right.
Variations of the Hello Kitty Cake
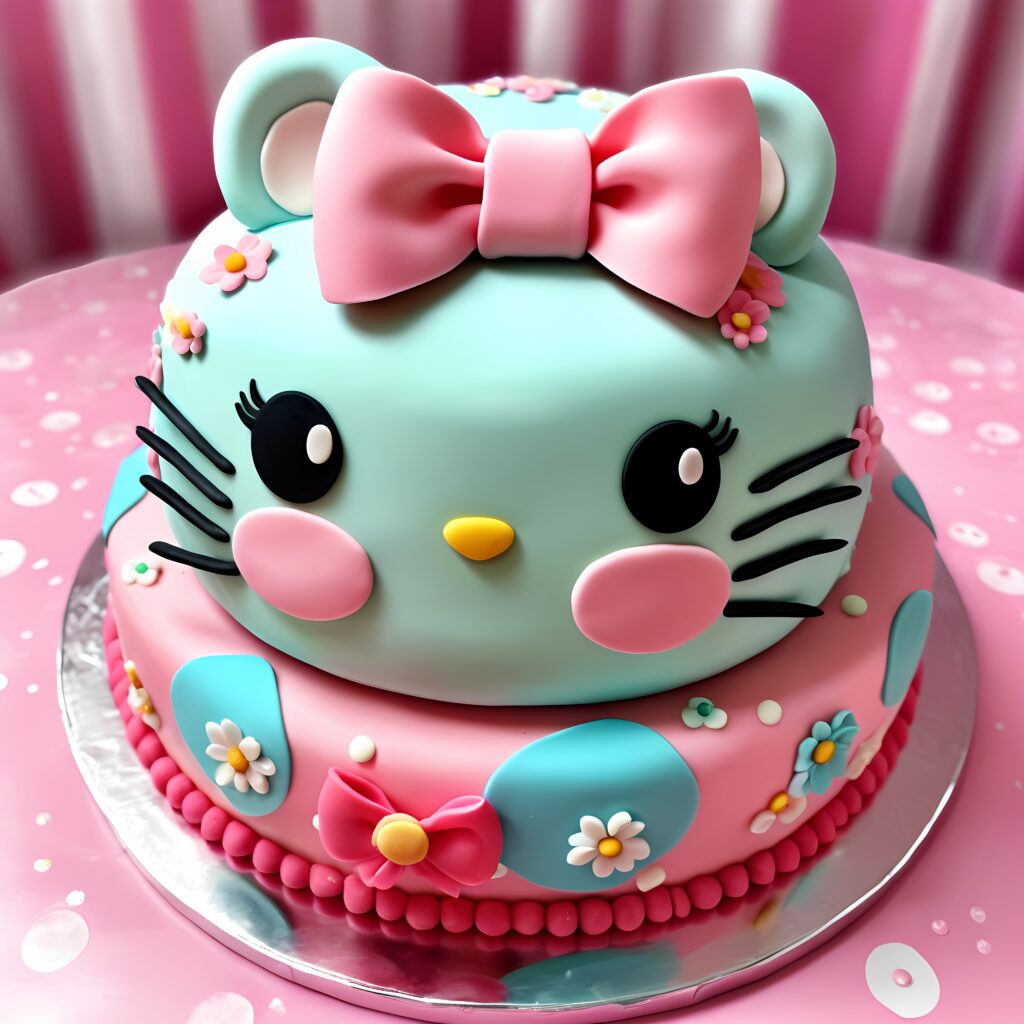
If you want to get creative, here are some ways to customize your Hello Kitty cake:
- Rainbow Cake: Add colorful layers to Hello Kitty Cake Recipe to make the cake even more fun and vibrant inside.
- Cupcake Version: Make Hello Kitty cupcakes instead of a full cake for individual servings.
- Flavored Cake: Add a twist by using different cake flavors such as chocolate, strawberry, or red velvet.
Frequently Asked Questions (FAQs)
1. Can I make this cake in advance?
Yes, you can bake the cake a day before decorating. Just store it in an airtight container at room temperature or in the fridge until you’re ready to frost and decorate.
2. What if I don’t want to make a buttercream frosting?
If you prefer, you can use fondant to cover the cake for a smoother and more polished look. However, buttercream offers a delicious and creamy texture that pairs wonderfully with the cake.
3. Can I make the cake gluten-free?
Yes, you can substitute the all-purpose flour with a gluten-free flour blend to make the cake gluten-free. Ensure you are using gluten-free baking powder as well.
Conclusion: Create the Perfect Hello Kitty Cake
Whether you’re an experienced baker or a beginner, making a Hello Kitty cake is a fun and rewarding experience. This step-by-step recipe ensures that your cake turns out not only beautiful but delicious too. With a little creativity and patience, you can recreate this iconic character and wow your guests with your baking skills. Perfect for birthdays or any occasion, this Hello Kitty cake is sure to be a hit!
Additional Themed Cake Recipes
- Unicorn Cake: A whimsical, colorful cake that’s perfect for any magical celebration.
- Mermaid Cake: Dive into a sea of frosting and ocean-inspired designs with this mermaid cake.
- Princess Castle Cake: Make your little one feel like royalty with a towering, fairytale-inspired castle cake.
Tips for Success:
- Fondant Tips: If you’re new to working with fondant, use a small amount of cornstarch to prevent it from sticking to your surface while rolling.
- Make It Ahead: You can bake the cake layers and make the frosting the day before. Just store the components in airtight containers and assemble the cake when you’re ready.
- Decorate Your Way: Feel free to get creative! You can add more Hello Kitty details, such as her signature bow or even some flowers or stars around her face.
Frequently Asked Questions (FAQs):
Can I use a boxed cake mix for this Hello Kitty cake? Yes, you can substitute a boxed cake mix for the homemade cake if you’re short on time. Just follow the instructions on the box, and proceed with the frosting and decorating.
How do I make the cake gluten-free? To make the cake gluten-free, use a gluten-free all-purpose flour blend instead of regular flour. Ensure that your frosting ingredients are also gluten-free.
Can I use a different design for the face? Yes! You can customize Hello Kitty’s face and accessories with different colors or designs. Try a different bow color or even a different character’s design if you’re feeling creative!
This Hello Kitty cake is a fun and sweet way to celebrate any occasion. Whether it’s for a child’s birthday or a Hello Kitty-themed party, this cake will surely bring joy to your guests and make the event even more special.
- Chicken Alfredo: Creamy Alfredo sauce over fettuccine with tender chicken pieces.
- Pasta Primavera: A light and colorful pasta dish with a mix of fresh vegetables and a simple garlic sauce.
- Lasagna: Layers of pasta, rich meat sauce, and gooey cheese make this a family favorite.
