No-Bake Cheesecake Recipe: The Perfect Creamy Dessert
A no-bake cheesecake is the ultimate dessert for any occasion—whether it’s a holiday celebration, a family gathering, or just a sweet treat to enjoy after a meal. The beauty of a no-bake cheesecake lies in its simplicity: no oven required, and it sets perfectly in the fridge. With a smooth, creamy texture and a deliciously buttery crust, it’s the kind of dessert that never goes out of style. This easy recipe is perfect for beginners, offering a balance of sweet and tangy flavors that will impress your guests.

Why This No-Bake Cheesecake Recipe Works
No-bake cheesecake is all about achieving the perfect balance between the tanginess of the cream cheese and the smooth sweetness of the filling. This recipe uses simple ingredients, but the key is allowing the cheesecake to set in the fridge for the right amount of time. It’s incredibly versatile too—feel free to adjust the flavor or toppings to suit your preferences. Whether you’re making it for a special occasion or simply indulging in a dessert that doesn’t require an oven, this no-bake cheesecake delivers creamy perfection every time.
Ingredients
Before we dive into the recipe, let’s go over what you’ll need to create this no-bake cheesecake. The ingredients are simple, but together, they create a rich, velvety cheesecake that’s sure to please everyone.
For the Crust:
- 1 1/2 cups graham cracker crumbs (or any preferred cookie crumbs)
- 1/4 cup granulated sugar
- 1/2 cup unsalted butter, melted
- A pinch of salt
For the Cheesecake Filling:
- 2 cups cream cheese, softened
- 1/2 cup powdered sugar
- 1 teaspoon vanilla extract
- 1 cup heavy cream, chilled
- 1 tablespoon lemon juice (optional for a tangy flavor)
Optional Toppings:
- Fresh fruit (berries, strawberries, or mangoes)
- Chocolate ganache
- Whipped cream
- Crushed nuts (pecans, almonds, or pistachios)

How to Make No-Bake Cheesecake
Making a no-bake cheesecake is as easy as it sounds. Follow these simple steps, and you’ll have a delicious dessert ready in no time.
Step 1: Prepare the Crust
- Combine the Crust Ingredients: In a mixing bowl, combine the graham cracker crumbs, sugar, melted butter, and salt. Stir until the crumbs are fully coated and the mixture resembles wet sand.
- Press into the Pan: Transfer the crust mixture into the bottom of a 9-inch springform pan or pie dish. Use the back of a spoon to press it down firmly and evenly. You can also use a flat-bottomed glass to smooth out the crust.
- Chill the Crust: Place the crust in the refrigerator while you prepare the filling to allow it to firm up.
2 .Step 2: Make the Cheesecake Filling
- Beat the Cream Cheese: In a large mixing bowl, beat the softened cream cheese with an electric mixer until smooth and creamy. Add the powdered sugar and vanilla extract, and continue to beat until well combined.
- Add Heavy Cream: In a separate bowl, whip the chilled heavy cream until stiff peaks form. Gently fold the whipped cream into the cream cheese mixture until it’s fully incorporated. Be careful not to deflate the whipped cream.
- Add Lemon Juice (Optional): If you like a tangy flavor, add the lemon juice and mix it into the filling.
3.Step 3: Assemble the Cheesecake
- Fill the Crust: Pour the cheesecake filling onto the chilled crust. Use a spatula to smooth the top and ensure it’s even.
- Refrigerate: Cover the cheesecake with plastic wrap or a lid, and refrigerate for at least 4 hours, preferably overnight. This will allow the cheesecake to set and firm up.
Step 4: Add Toppings and Serve
- Top the Cheesecake: Once the cheesecake is fully set, remove it from the fridge. Add your desired toppings, such as fresh fruit, whipped cream, chocolate ganache, or nuts.
- Serve: Carefully release the springform pan (if using) and slice the cheesecake into wedges. Serve and enjoy!
Tips for the Best No-Bake Cheesecake
- Room Temperature Ingredients: Ensure the cream cheese is softened to room temperature before mixing. This prevents lumps in the filling and results in a smoother texture.
- Chill the Cheesecake Properly: Be patient and allow the cheesecake to set properly in the fridge. It should be firm to the touch before serving.
- Customize the Flavor: You can add flavor extracts like almond or coconut, or even fold in melted chocolate for a unique twist on the classic recipe.
- Make Ahead: No-bake cheesecake is a great make-ahead dessert. Prepare it the day before and store it in the fridge until you’re ready to serve.
How to Serve No-Bake Cheesecake
One of the best things about no-bake cheesecake is its versatility. You can serve it in many different ways to suit your personal taste or the occasion.
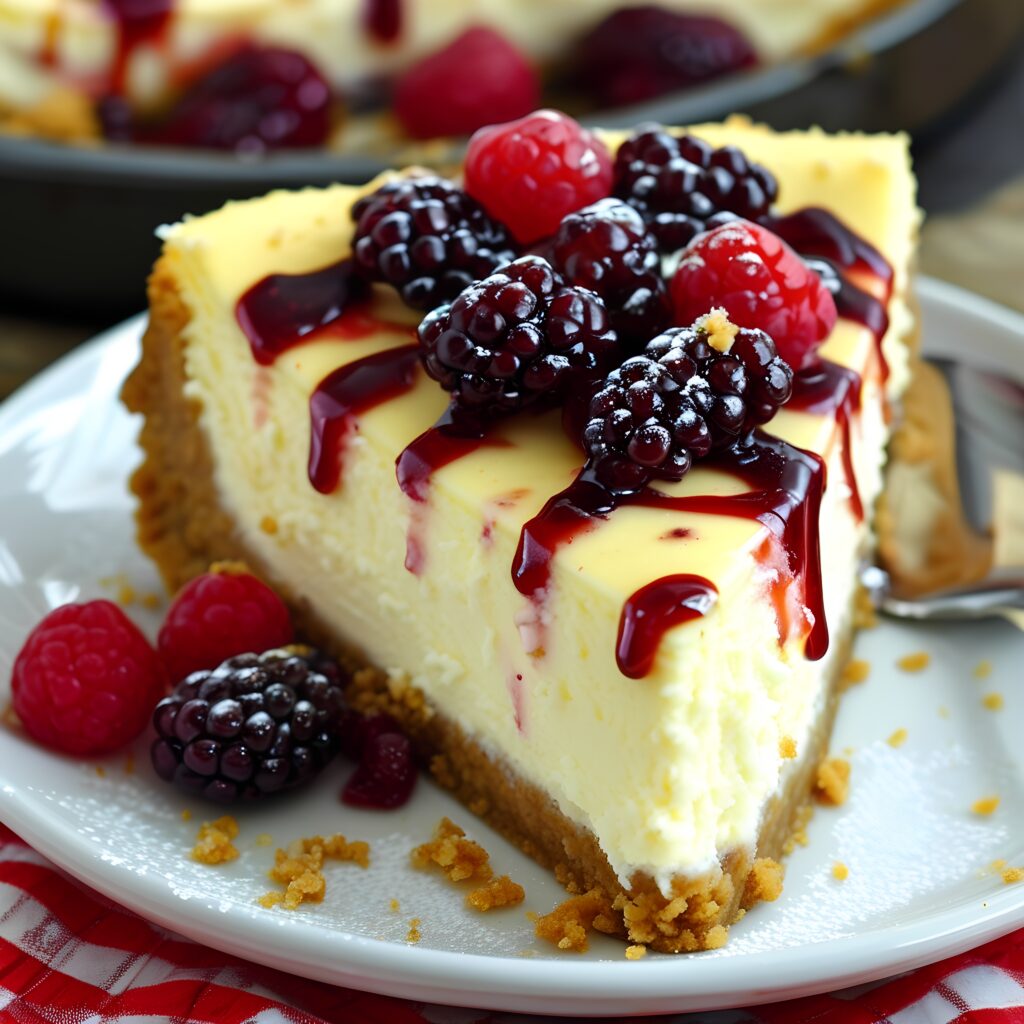
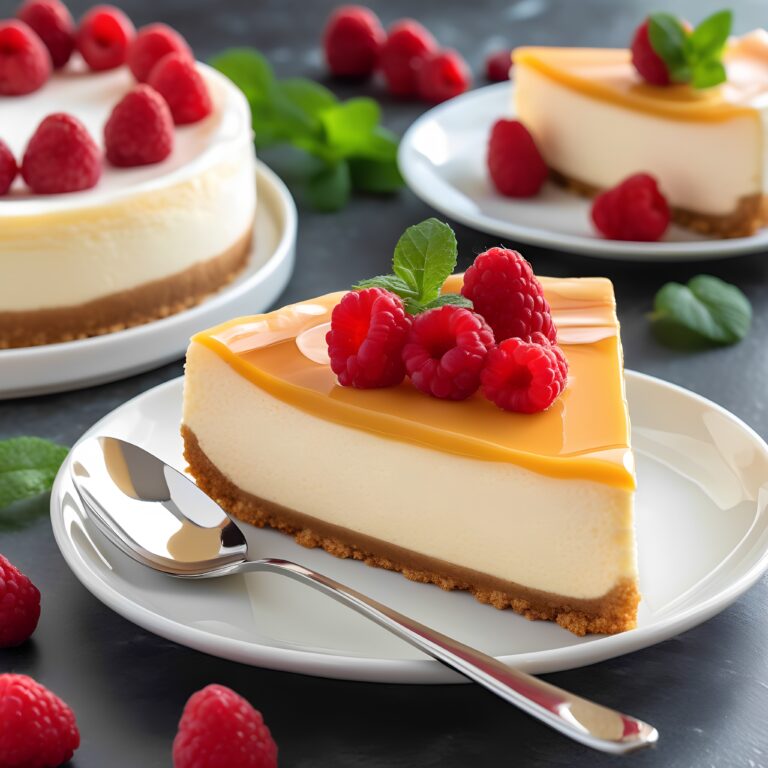
- With Fresh Fruit: Top the cheesecake with a selection of fresh berries, mangoes, or citrus slices. The acidity from the fruit will complement the richness of the filling.
- With Chocolate Ganache: For chocolate lovers, drizzle chocolate ganache over the top or mix some melted chocolate into the filling.
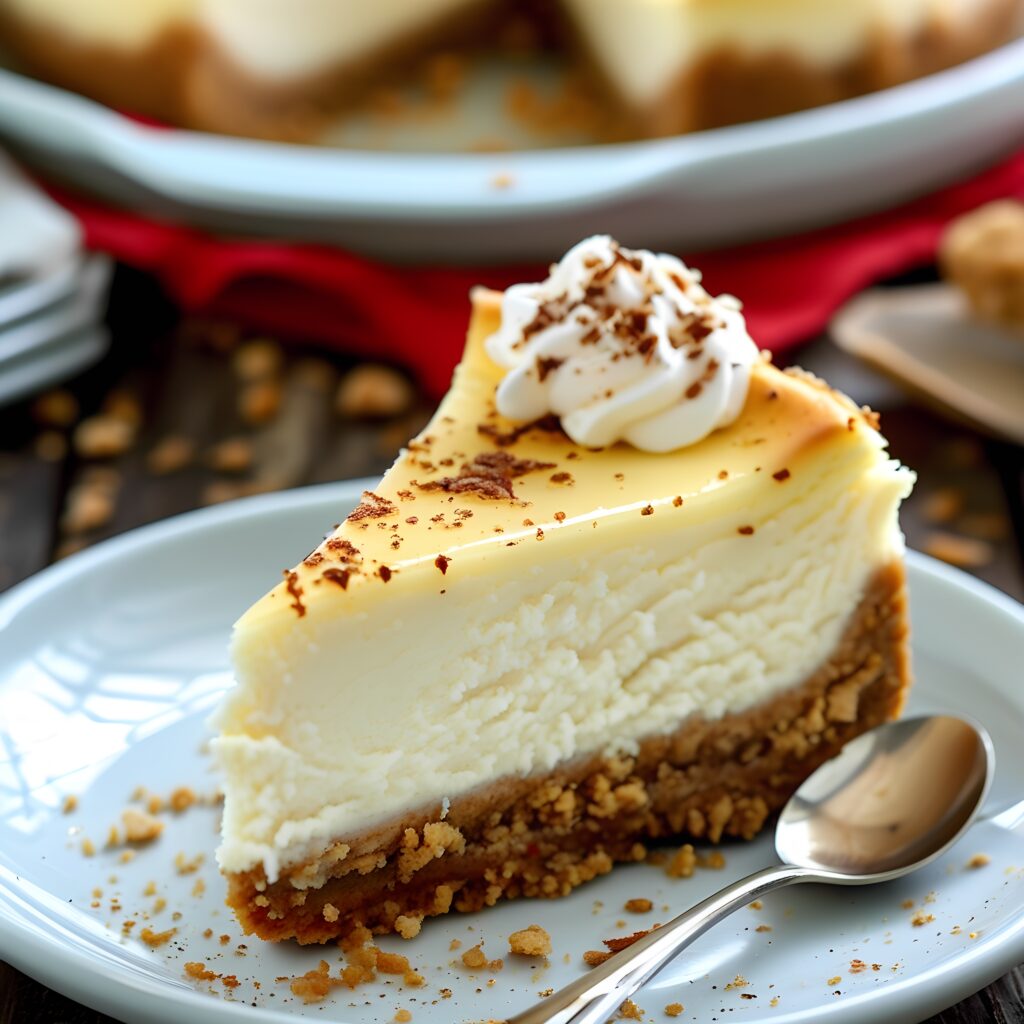
- With Whipped Cream: A dollop of freshly whipped cream adds a light, airy touch to the rich cheesecake.
- As Mini Cheesecakes: For a fun twist, make individual mini cheesecakes using muffin tins or ramekins.

No-Bake Cheesecake Recipe
No-Bake Cheesecake Recipe: A Creamy and Easy Dessert
This No-Bake Cheesecake recipe is the ultimate indulgence, offering a smooth and creamy filling with a crunchy, buttery graham cracker crust. Perfect for any occasion, this cheesecake requires no baking, making it a stress-free dessert that’s both delicious and easy to prepare. Whether you’re celebrating a special event or simply want to enjoy a sweet treat at home, this no-bake cheesecake is sure to impress. With a simple blend of cream cheese, heavy cream, and sugar, and topped with your favorite fresh fruits or toppings, it’s a dessert that’s as delightful as it is versatile.
- Total Time: 18 minutes
- Yield: 4 1x
Ingredients
For the Crust:
- 1 1/2 cups graham cracker crumbs
- 1/4 cup granulated sugar
- 1/2 cup unsalted butter, melted
- A pinch of salt
For the Cheesecake Filling:
- 2 cups cream cheese, softened
- 1/2 cup powdered sugar
- 1 teaspoon vanilla extract
- 1 cup heavy cream, chilled
- 1 tablespoon lemon juice (optional)
Optional Toppings:
- Fresh fruit (berries, strawberries, or mangoes)
- Whipped cream
- Chocolate ganache
- Crushed nuts (almonds, pecans, or pistachios)
Instructions
Prepare the Crust:
- Combine the Crust Ingredients: In a mixing bowl, combine graham cracker crumbs, sugar, melted butter, and a pinch of salt. Stir the mixture until the crumbs are evenly coated with butter and resemble wet sand.
- Press the Crust Into the Pan: Transfer the mixture into the bottom of a 9-inch springform pan or pie dish. Press the crumbs down firmly with the back of a spoon or the bottom of a glass to create a flat, even layer.
- Chill the Crust: Place the crust in the refrigerator while you prepare the cheesecake filling to allow it to firm up.
Make the Cheesecake Filling:
- Beat the Cream Cheese: In a large mixing bowl, use an electric mixer to beat the softened cream cheese until smooth and creamy.
- Add the Sugar and Vanilla: Add the powdered sugar and vanilla extract to the cream cheese, and beat until well combined.
- Whip the Heavy Cream: In a separate bowl, whip the chilled heavy cream until stiff peaks form.
- Fold in the Whipped Cream: Gently fold the whipped cream into the cream cheese mixture, being careful not to deflate the whipped cream.
- Add Lemon Juice (Optional): If you like a tangy flavor, add the lemon juice and stir it into the filling.
Assemble the Cheesecake:
- Fill the Crust: Pour the cheesecake filling onto the chilled graham cracker crust. Use a spatula to smooth the top, making it even.
- Chill the Cheesecake: Cover the cheesecake with plastic wrap or a lid and refrigerate it for at least 4 hours, or overnight, to allow the filling to set.
Add Toppings and Serve:
- Top the Cheesecake: Once the cheesecake is set, you can add your favorite toppings like fresh fruit, whipped cream, or a drizzle of chocolate ganache.
- Serve: Carefully remove the cheesecake from the springform pan, slice, and serve chilled.
Notes
- Consistency: If you prefer a firmer cheesecake, you can add a tablespoon of unflavored gelatin to the filling mixture. Just dissolve the gelatin in a bit of water and mix it into the cream cheese filling.
- Customize the Flavor: Add different flavorings to the filling, such as almond extract, coconut, or even cocoa powder, to create a unique variation of this classic dessert.
- Make Ahead: This no-bake cheesecake can be made in advance and stored in the refrigerator for up to 5 days.
- Gluten-Free Option: Use gluten-free cookies or graham crackers for the crust to make this dessert gluten-free.
- Prep Time: 15
- Cook Time: 3
- Category: Breakfast
- Method: water bath
- Cuisine: pastry
Frequently Asked Questions
FAQs
Can I use a pre-made crust for this no-bake cheesecake?
Yes, you can easily substitute a store-bought graham cracker crust to save time. Just make sure it’s chilled well before adding the cheesecake filling.
How long does no-bake cheesecake need to set?
The cheesecake should be refrigerated for at least 4 hours, but for the best texture, letting it chill overnight is recommended.
Can I make this cheesecake dairy-free?
To make a dairy-free version, use a non-dairy cream cheese alternative and coconut cream instead of heavy cream. You can also use dairy-free butter for the crust.
How can I make the cheesecake filling thicker?
If you want a thicker filling, you can add a bit of unflavored gelatin to the mixture or reduce the amount of whipped cream.
How do you make a no-bake cheesecake without gelatin?
No-bake cheesecakes don’t always need gelatin to set. The key is whipping the heavy cream to stiff peaks and folding it into the cream cheese mixture. As the cheesecake chills, the whipped cream helps it firm up.
How long does no-bake cheesecake need to set?
A no-bake cheesecake needs at least 4 hours to set, but overnight is ideal for the best texture.
Can I use low-fat cream cheese for a no-bake cheesecake?
Yes, you can use low-fat or reduced-fat cream cheese, but it may result in a slightly less creamy texture. Full-fat cream cheese is typically recommended for the best flavor and consistency.
Can I use a store-bought crust for no-bake cheesecake?
Absolutely! A pre-made graham cracker crust or cookie crust can save time and effort. Just make sure to chill it thoroughly before adding the filling.
No-Bake Cheesecake Variations
No-bake cheesecakes can be customized in endless ways. Here are a few ideas to elevate your cheesecake:
- Fruit Puree Swirl: Mix fruit puree (such as strawberry, blueberry, or raspberry) into the cheesecake filling before refrigerating to create a marbled effect.
- Chocolate Cheesecake: Fold in melted chocolate or cocoa powder for a rich chocolatey version of this dessert.
- Peanut Butter Cheesecake: Add peanut butter to the filling for a nutty twist, or swirl it into the cheesecake for added flavor.
Storing No-Bake Cheesecake
No-bake cheesecake stores well in the refrigerator for up to 5 days. Cover it tightly with plastic wrap or foil to keep it fresh. You can also freeze individual slices for up to 3 months, though it’s best to eat them fresh for optimal texture.
Why We Love This No-Bake Cheesecake Recipe
No-bake cheesecake is perfect for any occasion—whether you’re looking for an easy dessert for a weeknight dinner or something special for a celebration. With minimal ingredients, no oven required, and endless customization options, this cheesecake will quickly become one of your favorite go-to recipes.
How to demould no-bake cheesecake?
To demould a no-bake cheesecake, follow these steps:
- Ensure the cheesecake is fully set: Make sure the cheesecake has been refrigerated for the recommended time (usually at least 4-6 hours or overnight) so it’s firm enough to hold its shape.
- Loosen the edges: Run a knife or spatula around the edges of the cheesecake to loosen it from the sides of the pan.
- Remove the sides of the pan: If using a springform pan, gently release the latch to remove the sides. If you used a regular cake pan, you can line it with parchment paper, which helps lift the cheesecake out.
- Transfer to a serving plate: If you want to move the cheesecake to a plate, gently slide a wide spatula or cake lifter underneath and lift it onto your desired dish.
Does cheesecake need to be baked?
No, cheesecake does not always need to be baked. There are two main types of cheesecake: baked and no-bake.
- Baked Cheesecake: This type requires baking in the oven to set the filling. The heat helps firm up the cream cheese mixture and gives it a smooth, dense texture.
- No-Bake Cheesecake: This version is made without baking. It relies on ingredients like gelatin, whipped cream, or the natural firmness of cream cheese to set the filling when refrigerated.
Why is my no-bake cheesecake base so hard?
A no-bake cheesecake base may become too hard if:
- Too much butter or sugar: Adding excess butter or sugar to the base can make it overly firm and crunchy. Ensure you follow the recipe’s proportions.
- Over-chilling: If the crust is left in the fridge for too long before the cheesecake filling is added, the butter in the base can set too hard.
- Type of biscuits or crumbs: Some biscuits or graham crackers used for the crust may absorb moisture and become more solid. Adjusting the type of biscuit or reducing the amount of butter can help.
What is Philadelphia no-bake cheesecake filling made of?
Philadelphia no-bake cheesecake filling is typically made from:
- Cream cheese (usually Philadelphia cream cheese), which gives the filling its rich, smooth texture.
- Whipped cream or whipped topping to add lightness and smoothness.
- Sugar to sweeten the filling.
- Vanilla extract for flavor.
- Gelatin (optional, in some recipes) to help the cheesecake set without baking. Some variations may also include a little lemon juice for a tangy flavor or sour cream for additional creaminess.
Also you might like :
- Chicken Alfredo: Creamy Alfredo sauce over fettuccine with tender chicken pieces.
- Pasta Primavera: A light and colorful pasta dish with a mix of fresh vegetables and a simple garlic sauce.
- Lasagna: Layers of pasta, rich meat sauce, and gooey cheese make this a family favorite.
